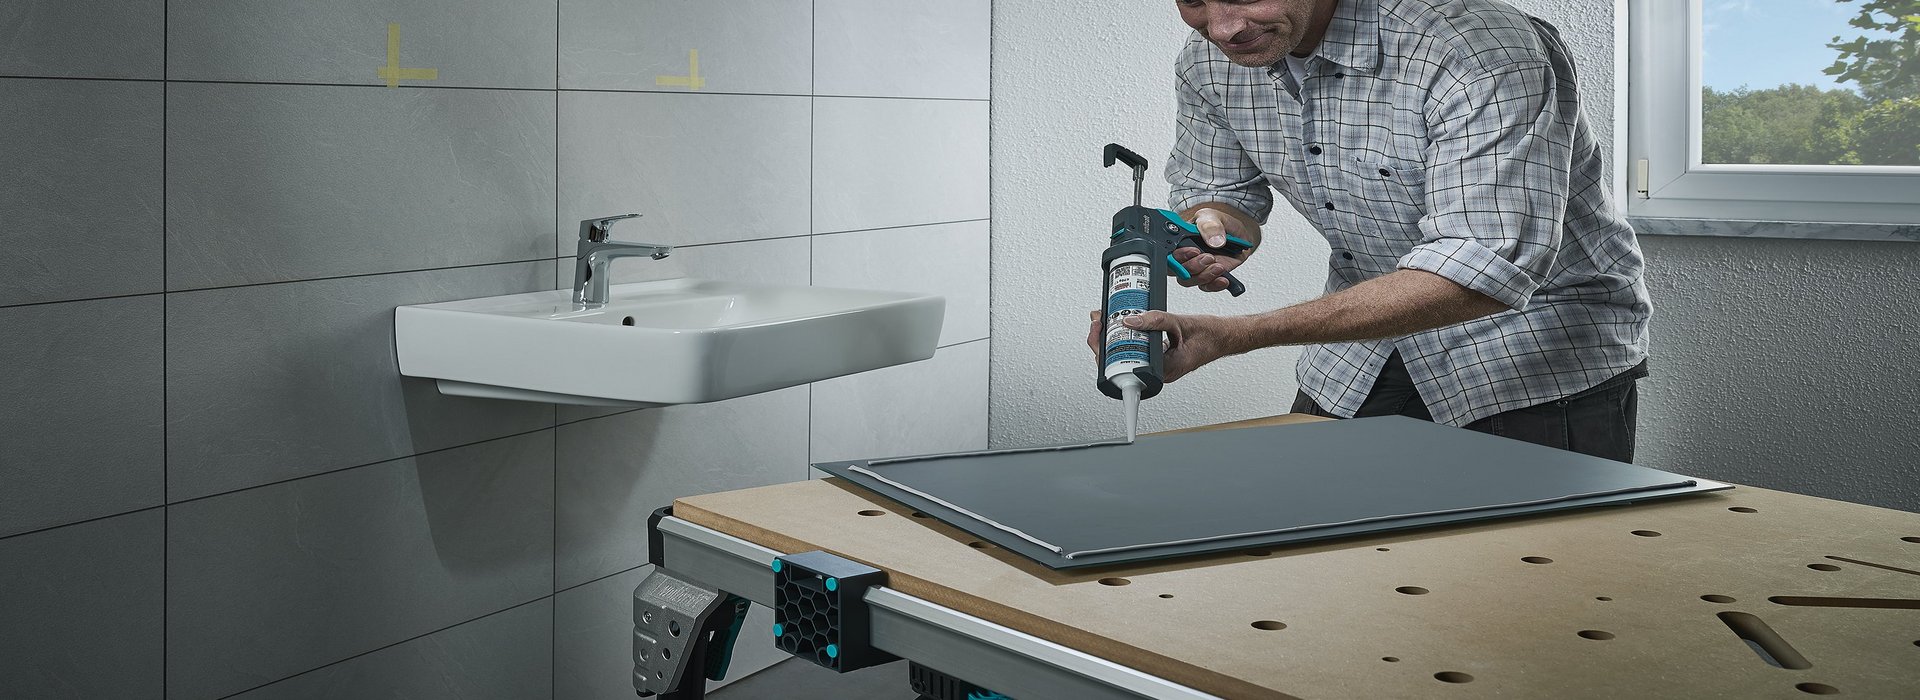
Even Mirrors Can Be Mounted With Construction Adhesive
Mirrors, towel hooks, shower racks – Bathroom furnishings that we don't want to miss. If only the bore hole problem did not exist! In rental flats in particular, every bore hole in the wall and tile is accompanied by the nagging thought of having to fill and smooth over the holes when we move out again.
And even if we own the house, we instinctively hesitate to drill into the freshly installed tile backsplash, because there is risk of a tile cracking. Are there alternatives? Here you can learn how it is done and what you have to keep in mind.
Selecting the Right Adhesive
When you are looking for the right adhesive, the product name and description of the manufacturer quickly provides information on whether it is appropriate for your purpose. Make sure that the adhesive is suitable for your surface. Depending on whether the surface is smooth or absorbent, or on whether you need to be able to remove the adhesive again at a later date, different adhesives are recommended. The following basic adhesive types can be distinguished:
- Polyurethane construction adhesive
- Hybrid polymer construction adhesive
- Dispersion and water-based construction adhesive
Comparison of Construction Adhesives
| Polyurethane / PU construction adhesive | Hybrid polymer construction adhesive | Dispersion and water-based construction adhesive | |
|---|---|---|---|
| PRO | For interior and exterior use | For interior and exterior use | Does not give off vapours, solvent-free |
| Good water resistance | Ideal for smooth surfaces | Ideal for polystyrene | |
| Cures quickly | Suitable for wet surfaces | Can be washed off and removed with water | |
| Very strong adhesive | No shrinkage | Good overpaintability | |
| CONTRA | Pressing in place and fixing necessary | Needs contact with ambient air to cure | Needs contact with air to cure |
| Expands when it cures | Significant shrinkage when it dries | ||
| Low UV stability | Not water-resistant | ||
| Needs at least one absorbent contact surface |
Correctly Applying the Construction Adhesive
Preparations
Clean the surface before applying the adhesive. Both contact surfaces have to be free of dust, dirt and grease. Use water and dishwashing liquid, or a solvent-free cleaning agent.
To easily apply the construction adhesive, you need a powerful caulking gun, for example the MG 550. Place the cartridge in the gun, open the tip with a cartridge knife – and then you are ready to start.
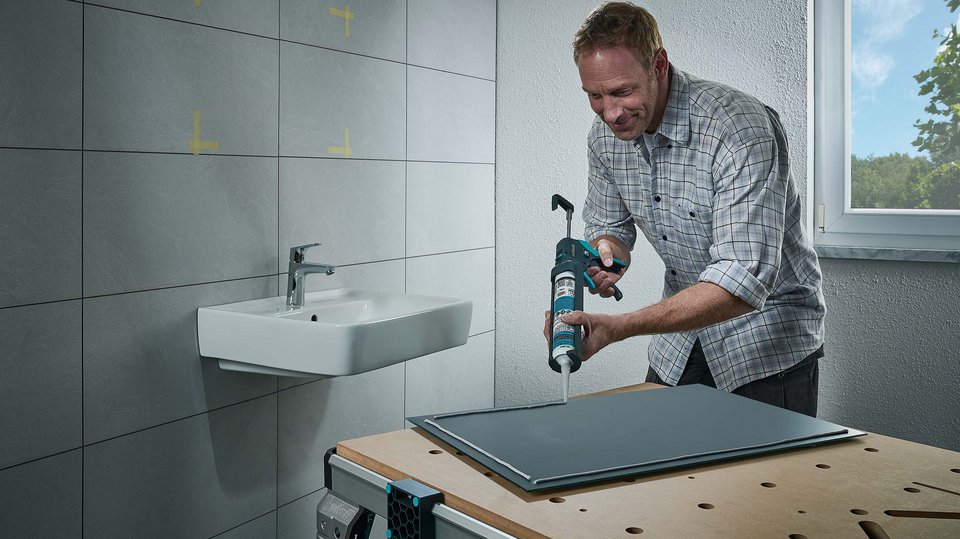
Applying the Adhesive
Depending on the size of the surface that is to be glued, we recommend different application methods. If the surface is small and will not carry a large load afterwards, for example a towel holder, applying dots of adhesive is adequate.
Mirrors, baseboards or small shelves need more adhesive strength. Evenly apply the adhesive in several wavy or vertical lines across the entire surface. In bathrooms and outdoors, avoid horizontal ridges of adhesive where water can collect.
Drying time and load-bearing capacity:
After approx. 24 hours, your adhesive should have hardened completely. Note the individual manufacturer's specifications on the product. Here you can also find out whether you should fix, weigh down or support the glued object.
For such cases, universal wedges or the practical EHZ PRO and EHZ Easy one-hand clamps work very well.
Other Interesting Projects
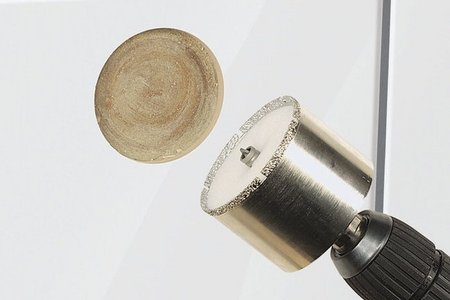
Drilling Holes in Tiles
Drill recesses for heating and water pipes, electric sockets, hollow wall boxes or drainage pipes.
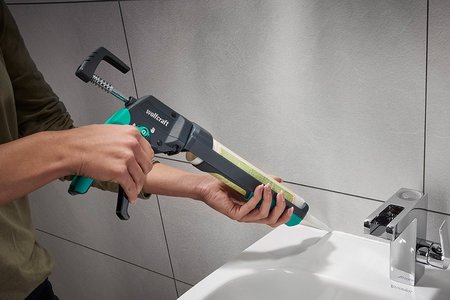
Applying Silicone Joints
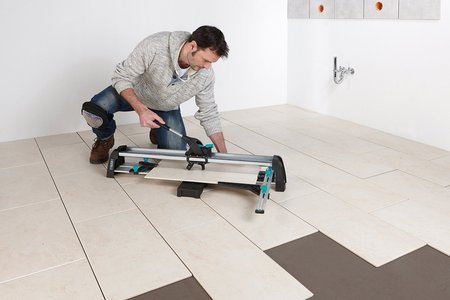
Cutting Tiles
Find out more about innovative tile cutters that help both amateurs and professionals with their work.

