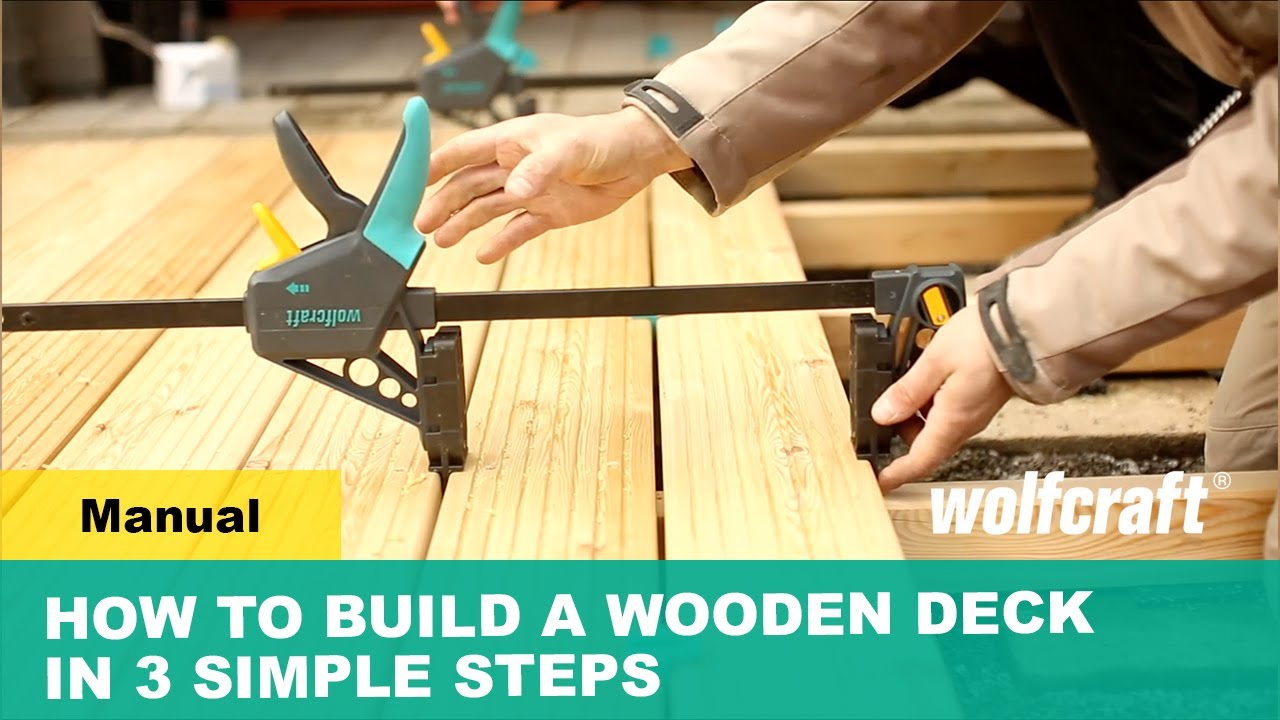
Instructional Video: Building a Wooden Deck
Contents
- How is the Even Screw Pattern Produced?
- Deck Building Assortment
- Step 1: Preparing the supporting surface
- Step 2: Building the substructure
- Step 3: Installing support pads
- Step 4: Determining the drilling position
- Step 5: Adjusting the drilling guide
- Step 6: Placing the spacers
- Step 7: Finishing the drill holes
- Step 8: Fastening the screws
- Downloads
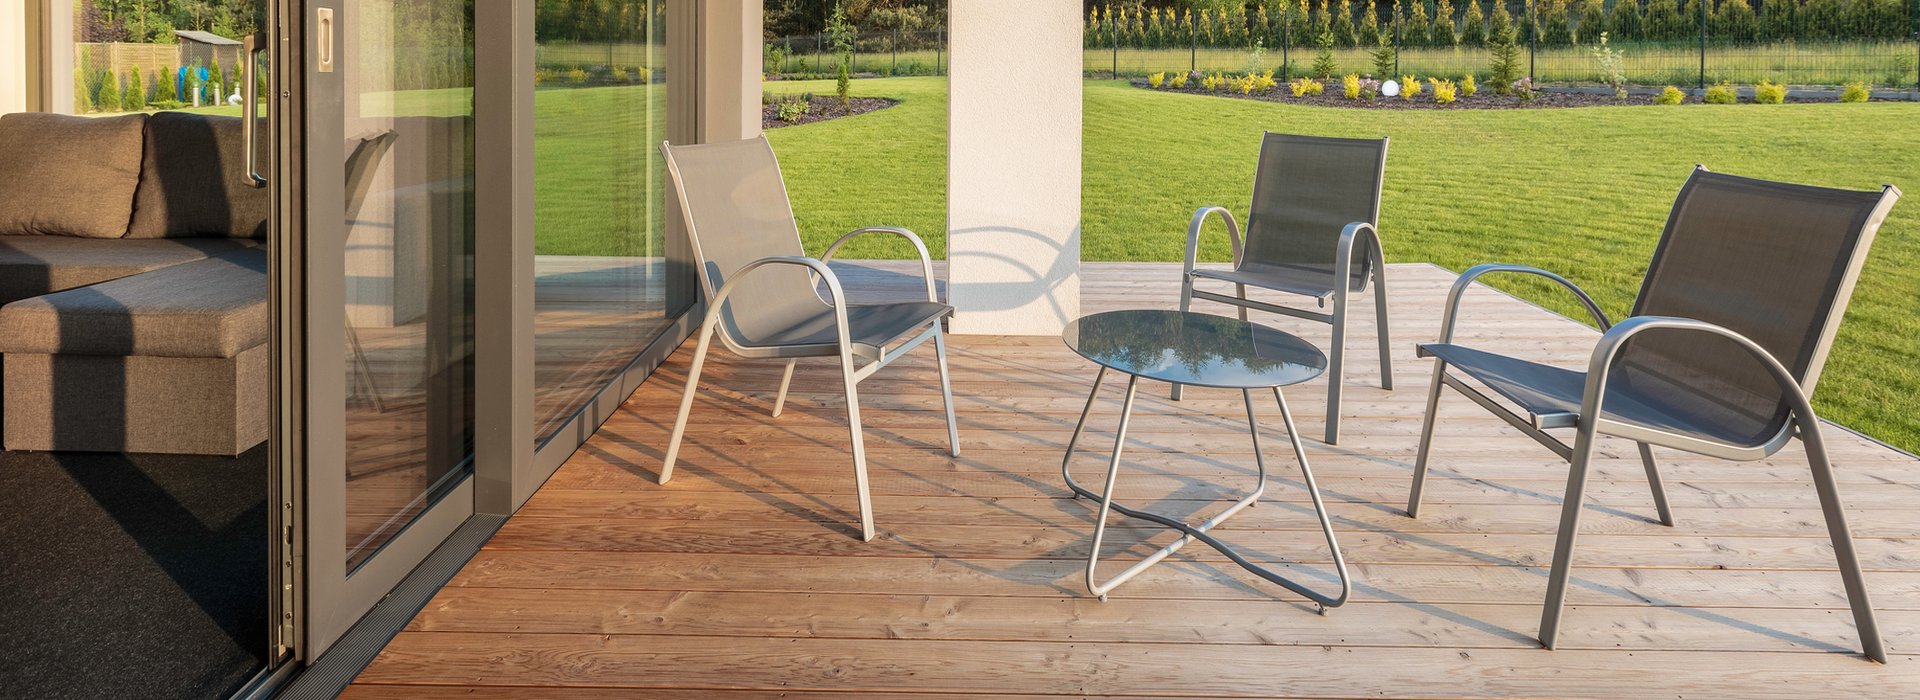
The DIY Deck of Your Dreams
Clever tools help you to build your wooden deck quickly, easily and with high precision.

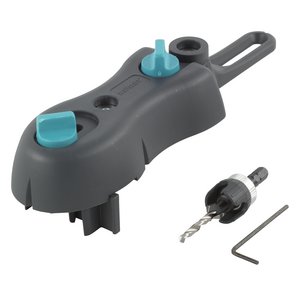
How is the Even Screw Pattern Produced?
Our system guarantees you a clean and uniform screw pattern on your wooden deck. The centrepiece of the set is the deck board drilling guide for effortless and precise alignment of the drill holes. Simply align the template at the last fastening and prepare the screw connection by drilling into the front drill bush first and then into the rear drill bush using the screw starter and countersink. The bushes are made of hardened steel and safely guide the drill.
Advantages:
- All screws are perfectly aligned in a straight row
- Even distancing between the screws and the edge of the board
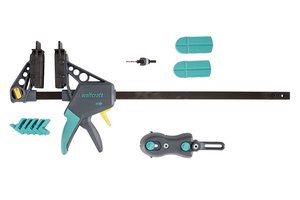
Deck Building Assortment


Step-by-Step Instructions: Building a Wooden Deck Yourself
Step 1: Preparing the supporting surface
First of all, dig out the soil some 40 cm deep and fill the hole with coarse gravel up to a height of 35 cm. Level the surface and compact the base, ideally with a compactor. Fill the remaining 5 cm with fine gravel and level it with a straight edge
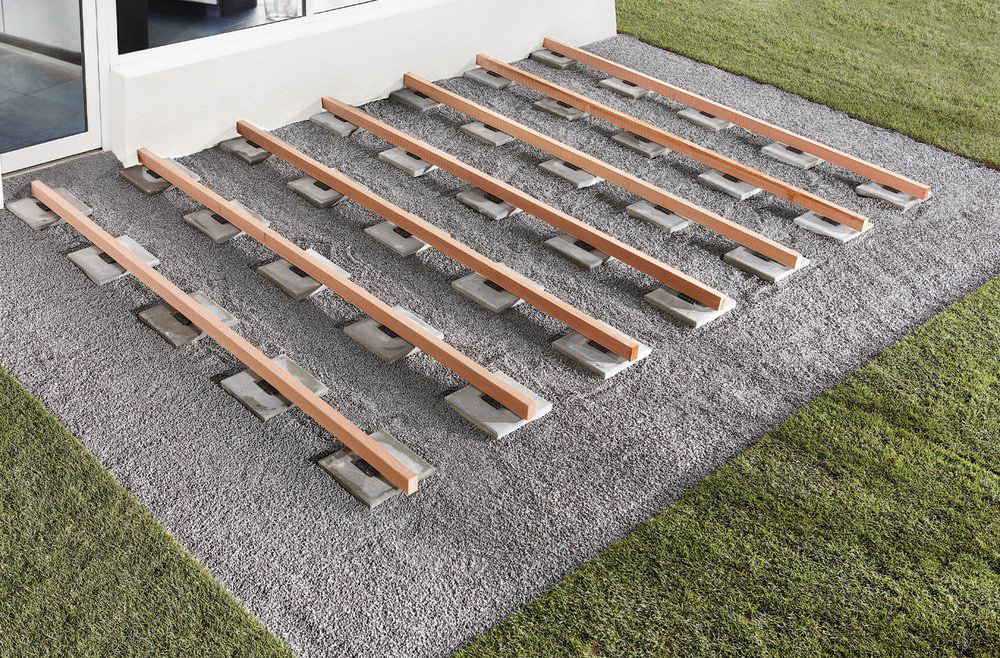
Step 2: Building the substructure
Place the floor joists at a distance of 40-50 cm at most onto concrete slabs (sized at least 30 x 30 cm), in order to achieve an optimal load distribution (give due regard to the instructions of the board manufacturer). Do not forget to place the wolfcraft support pads between the boards and the joists so as to protect the substructure from water logging.
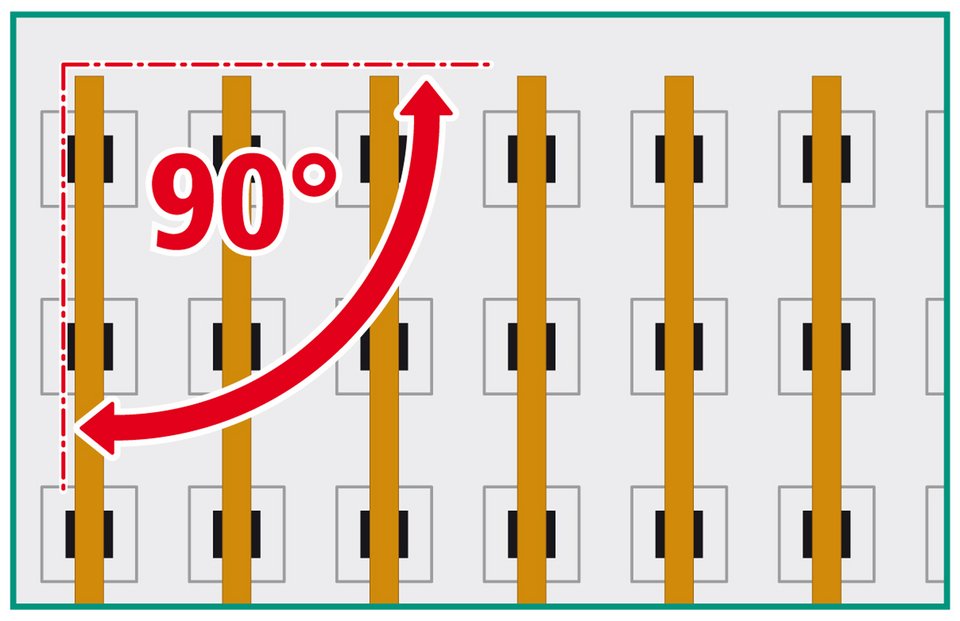
Not only will the pads prevent the wood from premature rotting, they will also dampen the impact sound and improve walking comfort considerably. In order to facilitate smooth working with the drilling templates, take care that the joists are aligned parallel to each other and at an angle of 90º in the direction of laying or with the boards.
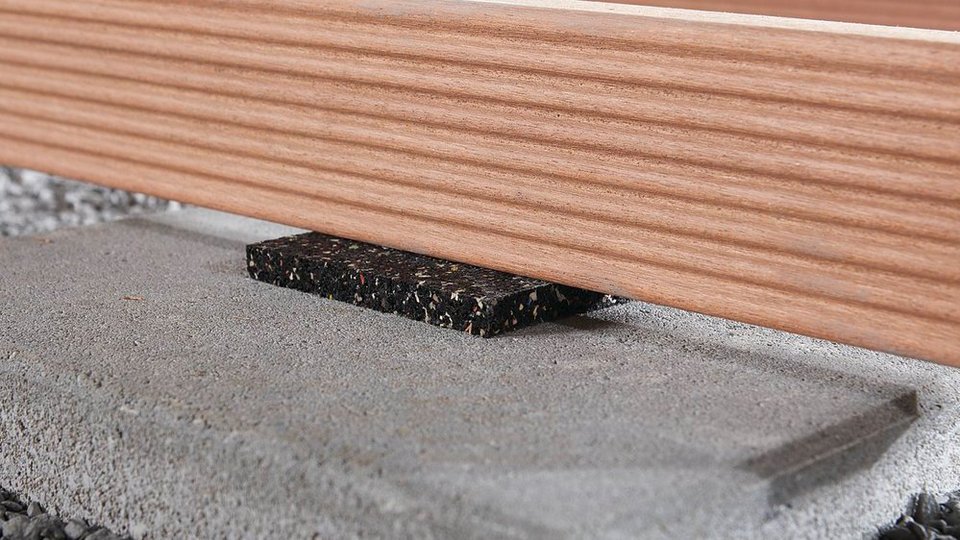
Step 3: Installing support pads
The support pads will act as structural wood protection and extend the deck's useful life, whilst dampening the impact sound and improving walking comfort.

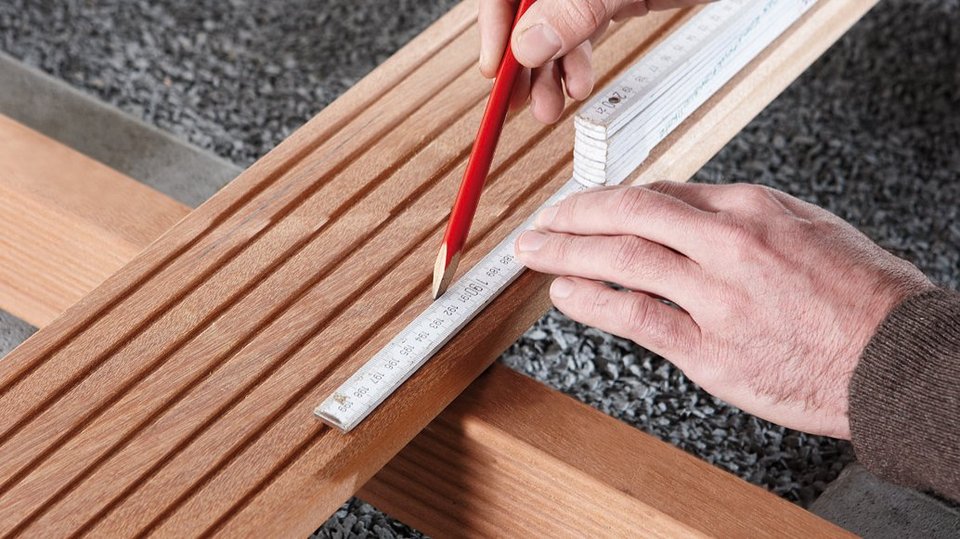
Step 4: Determining the drilling position
After you have built the substructure, you can start on the decking. On the top of the decking board, mark the two drilling positions for the screws with two lines.
Step 5: Adjusting the drilling guide

Place the deck board drilling guide on the board. Use the notch on the side to adjust the guide until the rear drill bush is accurately positioned on the appropriate marking line.
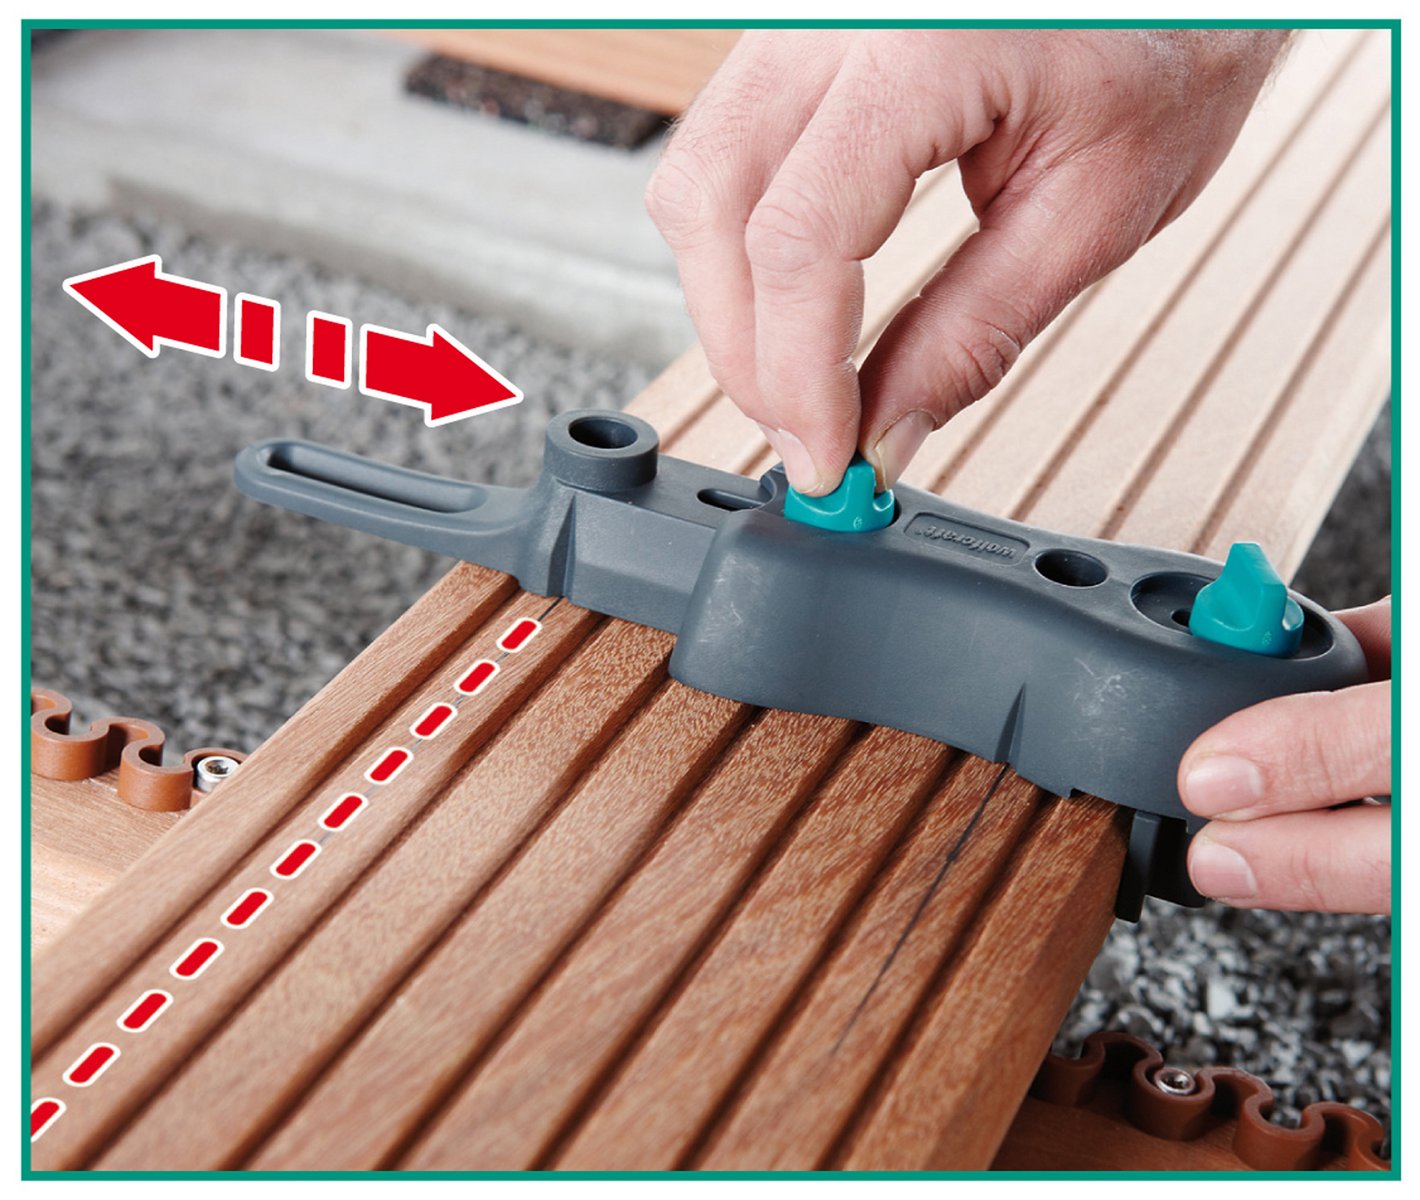
Repeat the same procedure to adjust the front drill bush to the second marking line, using the notch on the side. Subsequently position the board accurately on the supporting beams.

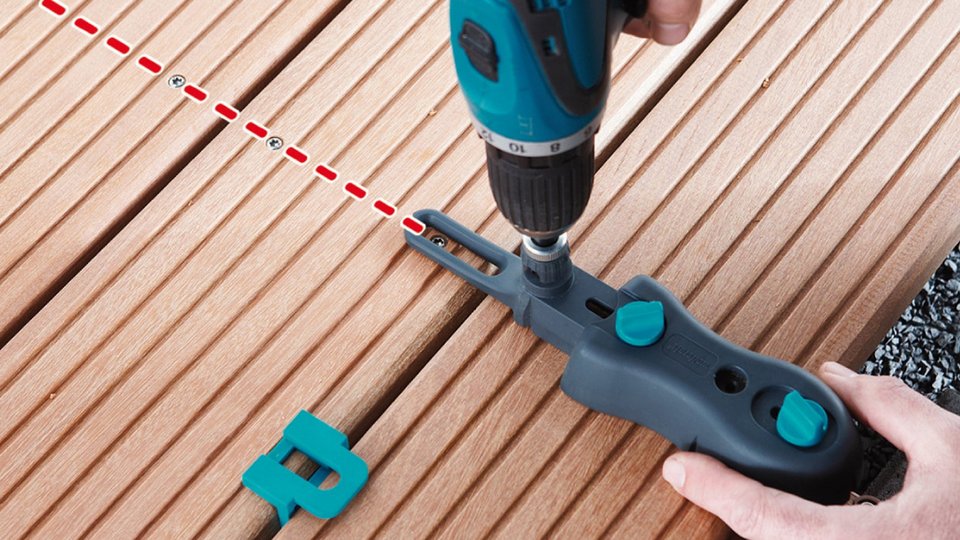
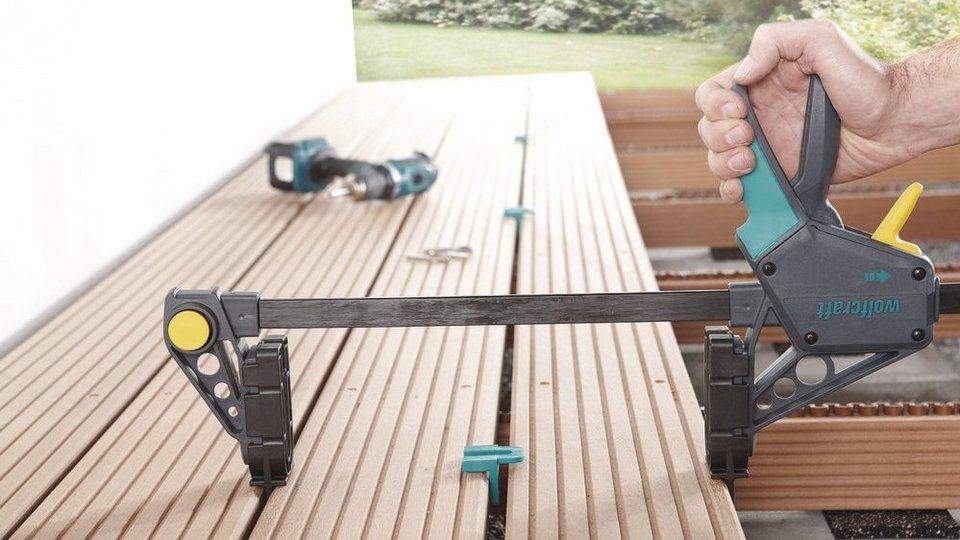
Step 6: Placing the spacers
Every 80 cm, insert a spacer between the decking boards. You can choose a spacing of 6 mm or 8 mm between the boards.
Use the lug of the drilling guide to align it with the existing row of screws and, for the time being, just spot-drill the screw holes.
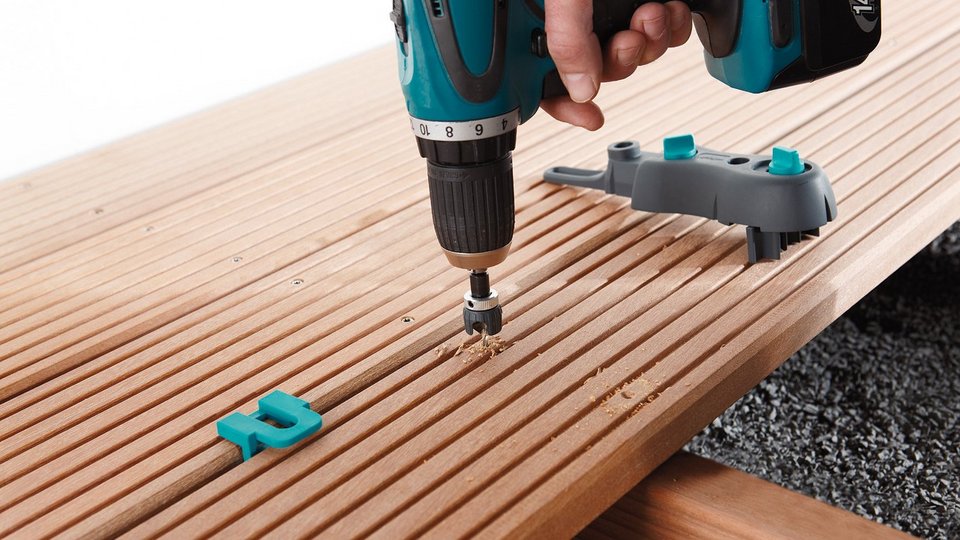
Step 7: Finishing the drill holes
Then place the drilling guide aside and finish drilling the holes. In the process, the holes for the screw heads are also sunk. The screw starter with countersink and depth stop can be used to accurately set the countersinking depth.
Step 8: Fastening the screws
Once all holes in the entire board have been drilled, centre the board on the support beams and fasten the screws with the magnetic bit holder. With the installation clamp, you can also straighten warped boards.