
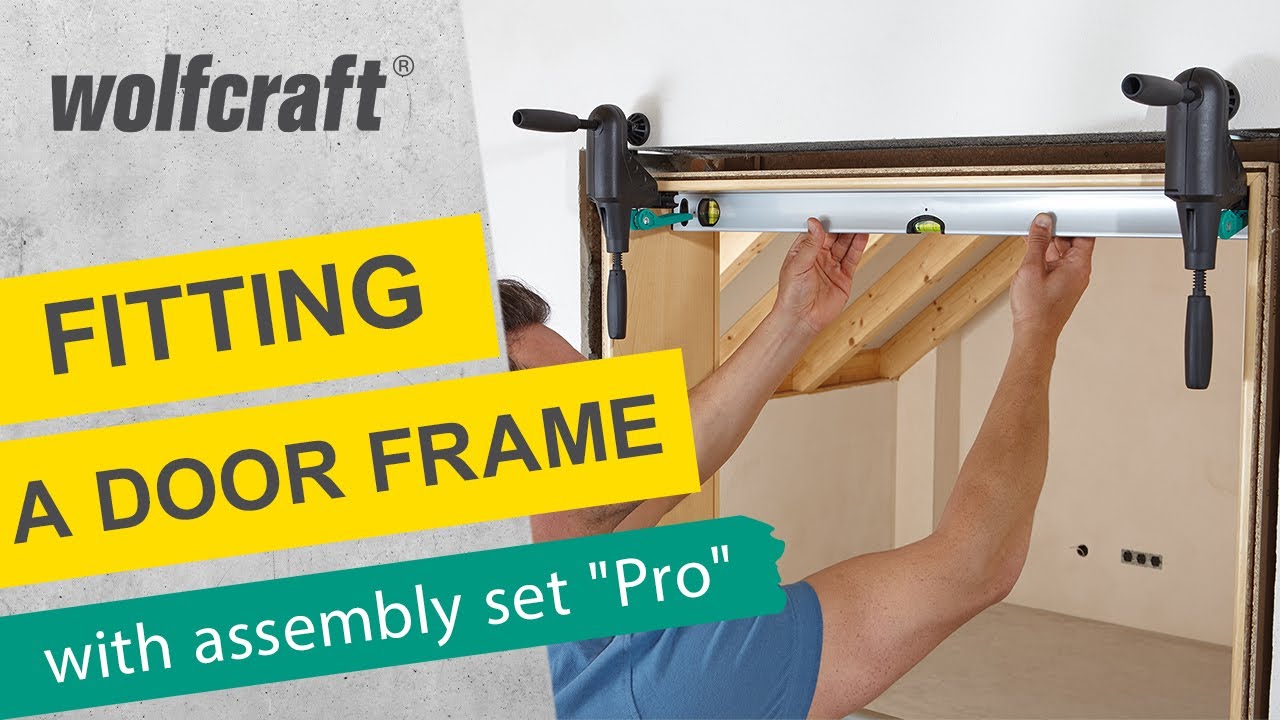
DIY Project With Potential for Big Savings
By installing interior doors themselves, homeowners can save a lot of money (potential savings of about 45-70 euros per interior door). Our tools make installation so easy that even inexperienced DIYers can approach this task with confidence.
The Door Frame Assembly Set PRO contains all the clamping devices and auxiliary equipment required for installing a door: two Door Frame Jigs PRO, two Door Frame Aligning Clamps PRO, four shims, and a detailed manual. With this set, it's child's play to stand a door frame upright, transport it, align it vertically and horizontally and secure it in place.
Contents
Instructional Video: Installing Doors
In the video, we show you how you can easily fit doors yourself using the Door Frame Assembly Set PRO.
Step-by-Step: Installing Doors
Step 1: Assembling the door frame
First, assemble the door frame as per the door manufacturer's instructions.
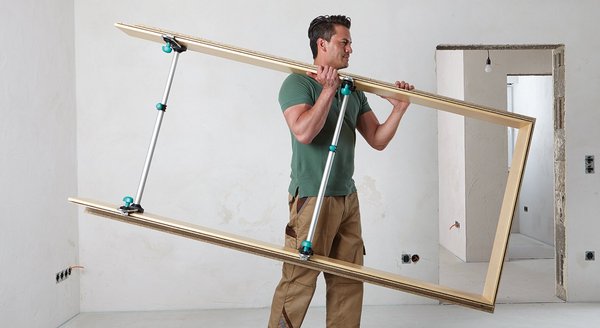
When assembled, the frame is usually lying on the floor. Without suitable auxiliary equipment, standing the structure upright and carrying it securely is always risky for the sensitive mitre joints.
With the help of wolfcraft assembly jigs, this is no longer a cause for concern: they stabilise the frame so you can carry it with no risk of accidents.
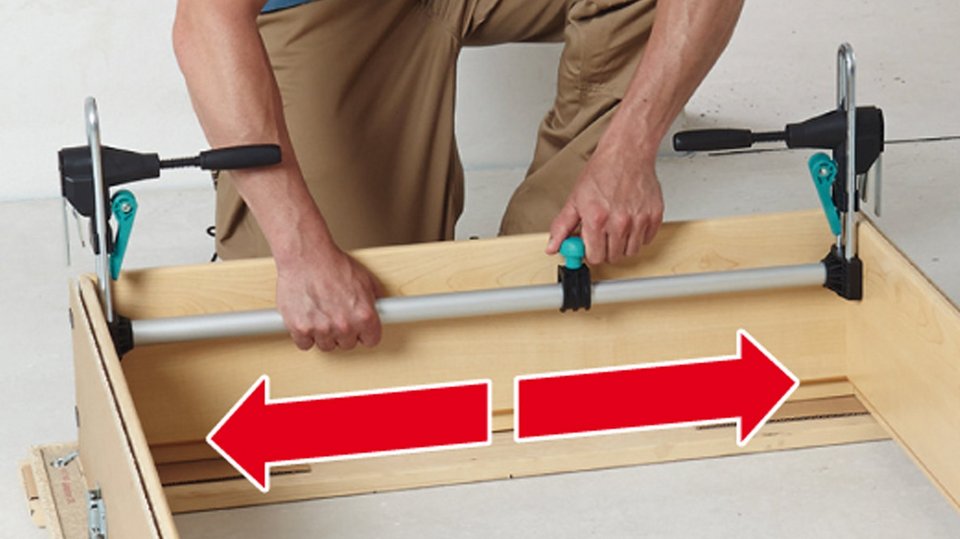
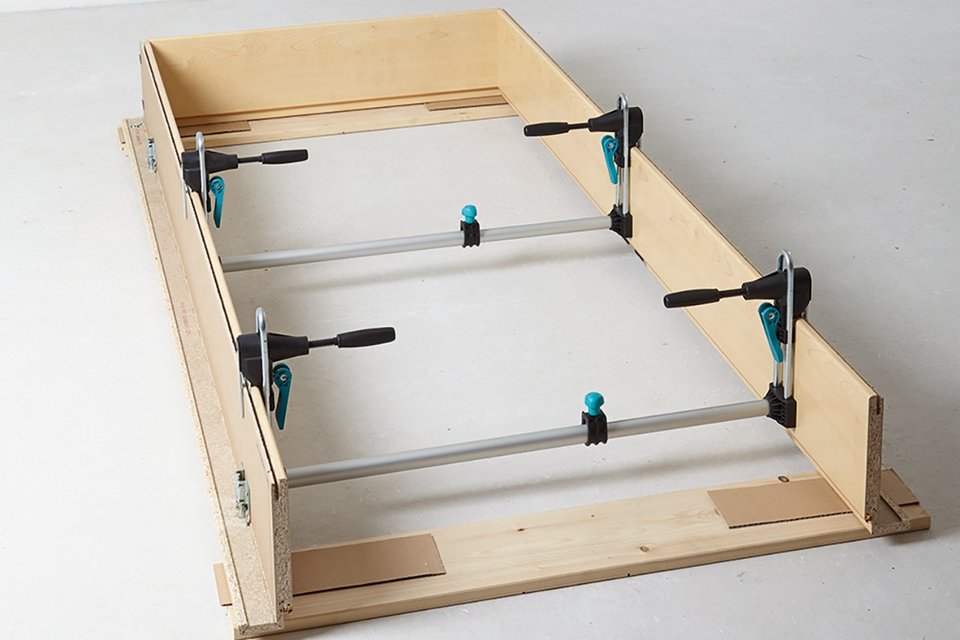
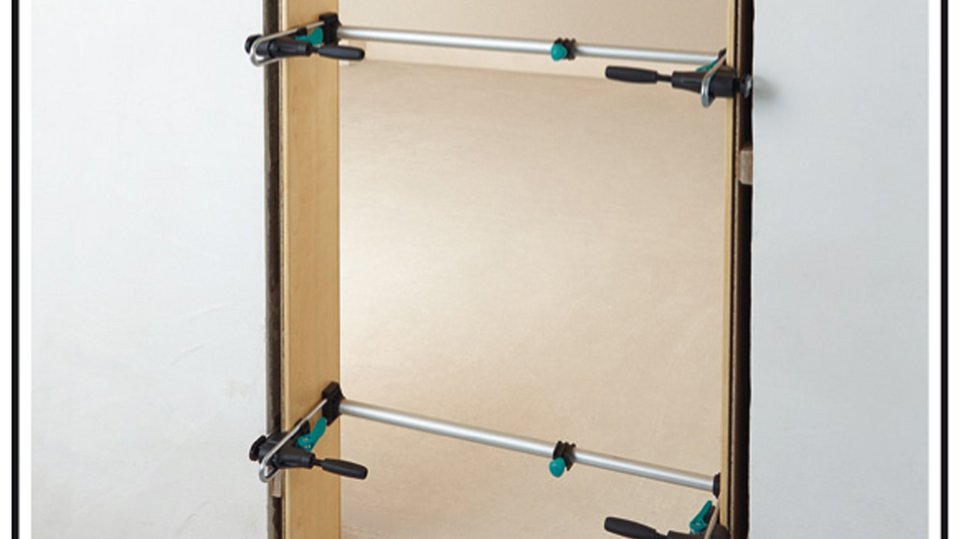
Step 2: Setting the door frame assembly jigs
The assembly jigs can be set exactly to the inside width of the jambs. One should be fastened at the height of the lock and one at the height of the lower hinge. To fasten them, simply insert the clamping plates in the groove, and tighten using the eccentric lever.
The jigs and door frame now form a single solid structure, which is secure and stable and can be stood upright and positioned in the wall aperture without any possibility of the jigs falling out. The door frame is aligned horizontally with the aid of a spirit level and the four shims.

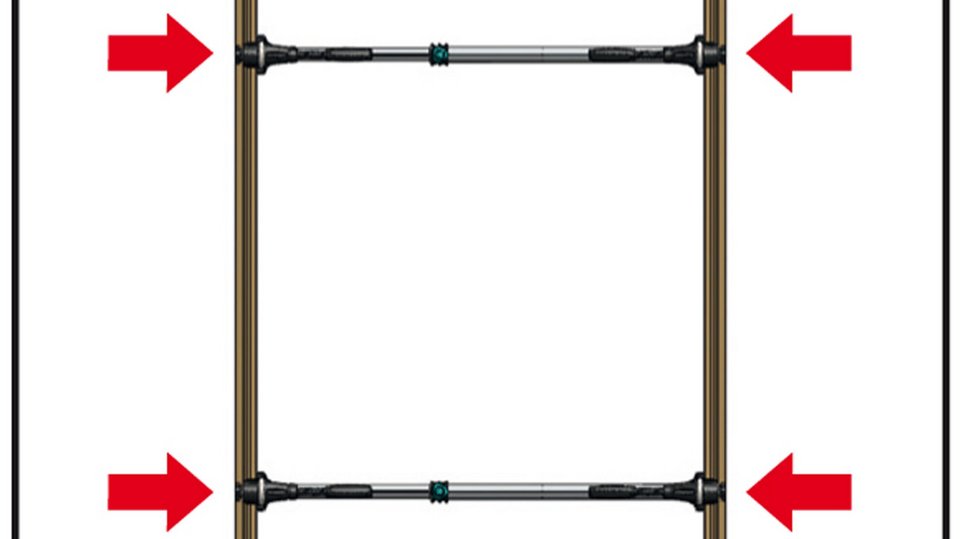
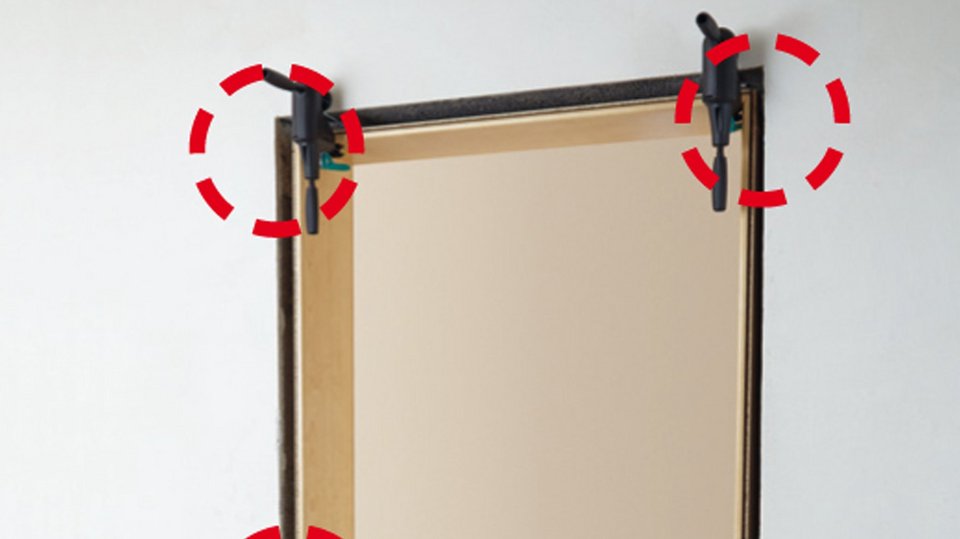
Step 3: Fastening the jigs
Fasten two jigs to the jambs, one at the height of the lock and the other at the height of the lower hinge.
Now you can stand the door upright securely.
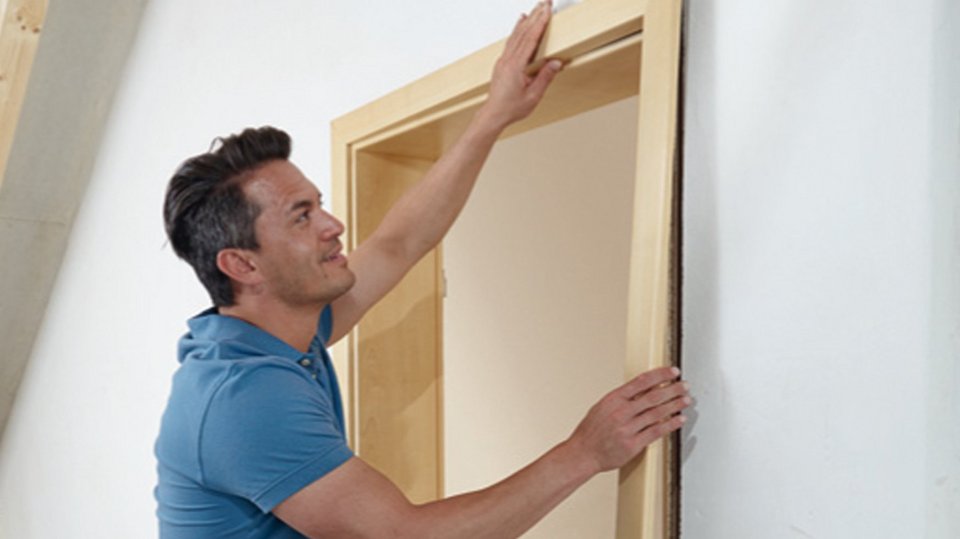
Step 4: Positioning the door
Position the door frame in the centre of the wall aperture and secure it (e.g. with wedges) so it cannot fall.

Step 5: Aligning the door frame
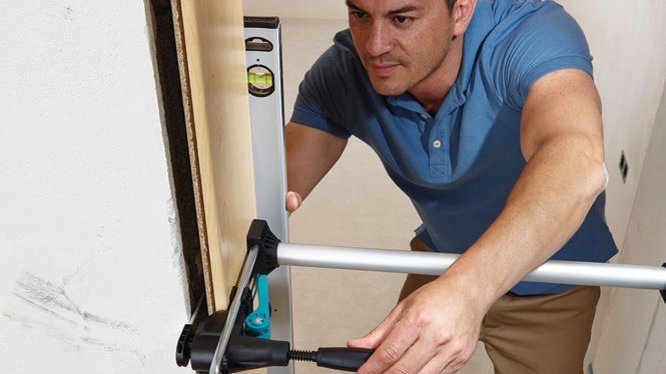
The Door Frame Assembly Set PRO includes two aligning clamps which can be used to achieve precise horizontal alignment in a few minutes.
To do this, fasten the clamps at the top left and right corners of the frame, by inserting the small clamping plates in the groove and then tightening with the eccentric lever. Use a spirit level to align the frame.
The aligning clamps can be easily tensioned and loosened using the ergonomic screw handle until the frame is optimally seated.
Step 6: Aligning the frame
Together with the assembly jigs, you can now perfectly align the door to the wall and to the inside surfaces of the frame.
You can do this very quickly and precisely even on your first attempt. Simply use the adjusting screws to move the jambs as necessary.
Once everything is optimally aligned, spray foam can be applied to secure the door frame in place, being now aligned parallel and ideally supported in the wall. The only thing left to do is to attach the blind frame.
Step 7: Securing the door frame with spray foam
Once everything is optimally aligned, you can apply spray foam at the points indicated to secure the door frame in place.
Step 8: Fitting the blind frame
When the spray foam has set, remove superfluous foam and fit the blind frame. Finished!
Frequently asked questions
Is the door frame assembly set also suitable for very deep door frames?
Is the door frame assembly set also suitable for very deep door frames?
You can also use the set for deep door frames, up to a depth of about 30 cm. No further accessories are required for this.
I really don't need a third jig?
I really don't need a third jig?
No, because the door frame assembly set already gives you three securing points. Two on the sides with the jigs, and at the top the frame is secured by the head jamb. After preliminary fitting, you can copy the dimension for the jigs from the head jamb. Then you fasten the two jigs.
Which external door dimensions is the set suitable for?
Which external door dimensions is the set suitable for?
The installation aids are suitable for all standard external door dimensions: 610/735/860/985 mm.
Is the assembly set also suitable for prefabricated houses?
Is the assembly set also suitable for prefabricated houses?
Yes, the technique works regardless of the construction method used, as the way doors are fitted is generally the same.
Is the set suitable for DIYers who don't have any experience?
Is the set suitable for DIYers who don't have any experience?
Yes, with the aid of our manual and our video, DIYers can install doors themselves too.
How long does it take to install a door frame?
How long does it take to install a door frame?
Once you have adjusted the assembly set to the size of your doors, you need about 45–60 minutes for all further doors of the same dimensions, including foam application.
When is it worthwhile to purchase the set?
When is it worthwhile to purchase the set?
If you have the doors fitted by a builder, the installation will cost you somewhere from 100 to 140 euros per door. So the purchase pays for itself with the very first door.
Other Projects
Installing Doors
Our tools make installation so easy that even inexperienced DIYers can approach this task with confidence.
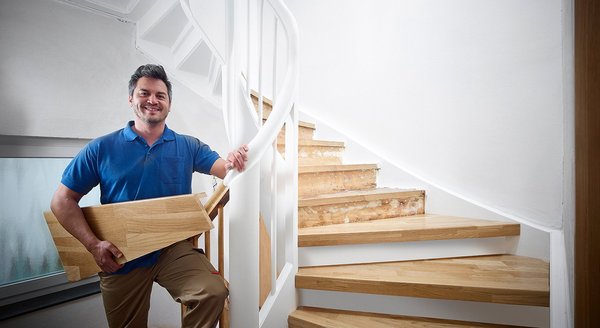
Renovating Stairs
Save several thousand euros when renovating your old wooden stairs. Our stair gauge delivers perfect results.


