Replacing Tiles
Cracks, Scratches or Fractures in Tiles
The cast-iron frying pan that you're drying slips out of your hands, a gas bottles crashes onto the ground, the drill slips when you try to install a wall plug – accidents like these happen quickly and can cause cracks, scratches or fractures in the tile floor or tiled backsplash.
Sometimes it is not even necessary for strong forces to act on the tiles. For example, if cavities have formed behind a tile, it is just a matter of time before cracks form.
This not only looks ugly, but can also cause consequential damage if moisture penetrates. Luckily, it is relatively easy to replace individual tiles.
TIP: To repair small scratches, you can use a touch-up paint pen with the right tile colour or special tile repair adhesive.
What tools and aids do you need?
Tool List
or:
- Angle grinder
- Diamond cutting disc
or
- Vibration saw
- Accessories for vibration saw
Additionally:
- Hammer
- Chisel
- Joint rubber
- Toothed spatula
- Tile spacers
Material List
- Replacement tile
- Tile cement
- Grout
Protective equipment
Step-by-Step Instructions
1. Removing tile joints
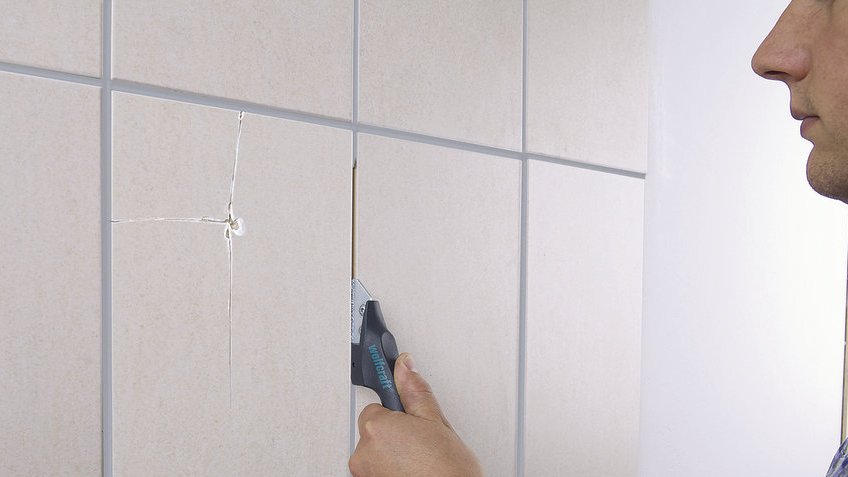
Option 1: Removing the tile with the joint scraper
The joint scraper lets you remove mortar from tile joints with a width of 2.5 - 6 mm effectively and cleanly. Depending on the joint width, you can insert two blades in parallel for optimum work progress.
The tungsten carbide-coated blades are easy to change and enable you to cut safely through the hard joint material. The integrated roller stabilises guidance of the scraper, thereby preventing the risk of damage to adjacent tiles.
Option 2: Removing the tile with the angle grinder
Wear full protection goggles, hearing protection and a fine dust mask for your safety!
Insert the segment blade into the angle grinder and cut the tile along the joints on all sides. Make sure that the tile is completely exposed on all sides before you start removing it.
2. Removing the tile
Now the defective tile has been completely isolated. With a strong hammer blow, you can now break the tile without the force being transmitted to the surrounding tiles.
With the hammer and chisel, you can now loosen the tile fragments from the surface. The safety goggles keep flying splinters out of your eyes.
3. Removing mortar and adhesive residues
With a delta sander and angle grinder, you can now quickly and easily remove the mortar and adhesive residues from the surface. This is very dusty work – please remember to wear safety goggles and a fine dust mask. The surface has to be completely level. Subsequently, vacuum away any dust and dirt, so that the surface is clean and free of dust.
4. Applying tile cement
Mix the tile cement as per the manufacturer's instructions, or get a small amount of ready-made dispersion adhesive. Depending on the surface, different adhesives are recommended. Your hardware or specialist store will be glad to assist you in finding the right one. The packaging also provides information on the materials for which the product is suitable. With a toothed spatula, evenly apply the tile cement to the exposed surface.
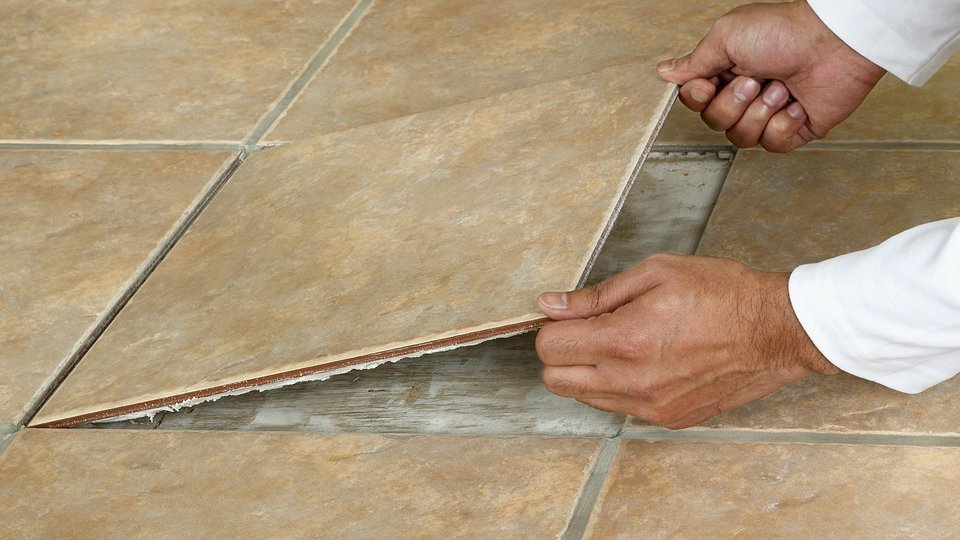
5. Inserting the replacement tile
Now put the replacement tile in place. To ensure perfect spacing to the surrounding tiles, you can use tile spacers.
Remove excess adhesive that oozes out immediately, before it can dry in the joint. If you do not have a fitting replacement tile on hand, read the article on Cutting Tiles for information on scribing and breaking tiles to size.
6. Grouting
After the adhesive has dried completely, the joints can be filled with grout in the appropriate colour. Usually, 24 hours is sufficient as drying time. Always pay attention to the individual manufacturer's specifications. A rubber applicator for joints can be used to evenly apply the material.
When the mortar starts to dry slightly on the tile, wipe the mortar film off the tile surface with a moist sponge. Let it dry – and then you're done!
If you replace a tile in an area that touches a wall, you will probably encounter an elastic expansion joint. Read the article on Renewing Silicone Joints to find out how to proceed and what material you need.
Other Interesting Projects
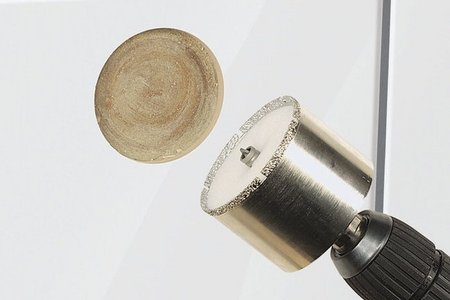
Drilling Holes in Tiles
Using the diamond hole saw to create recesses for heating and water pipes, electric sockets, hollow wall boxes or drainage pipes
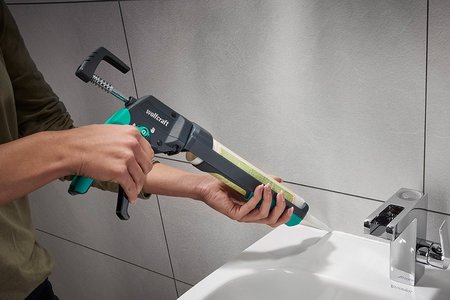
Applying Silicone Joints
With the joint repair kit, unsightly silicone joints can be removed and renewed with ease.
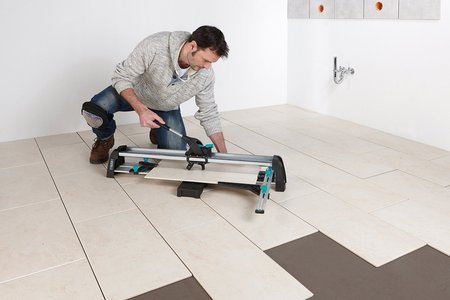
Cutting Tiles
Find out more about innovative tile cutters that help both amateurs and professionals with their work.


