Installing Ceiling Spotlights
Instructional Video
Step-by-Step Instructions
Step 1: Determining the diameter of the milled hole
Recessed spotlights are available in a wide range of diameters and installation heights. When choosing your lights, make sure that the installation height matches the space available in your suspended ceiling. You can find the diameter of the hole to be milled in the manufacturer's specifications for your recessed spotlight. The critical dimension is that of the part that later has to vanish into the gypsum plaster board, not the ring over the hole.
Step 2: Setting the appropriate diameter
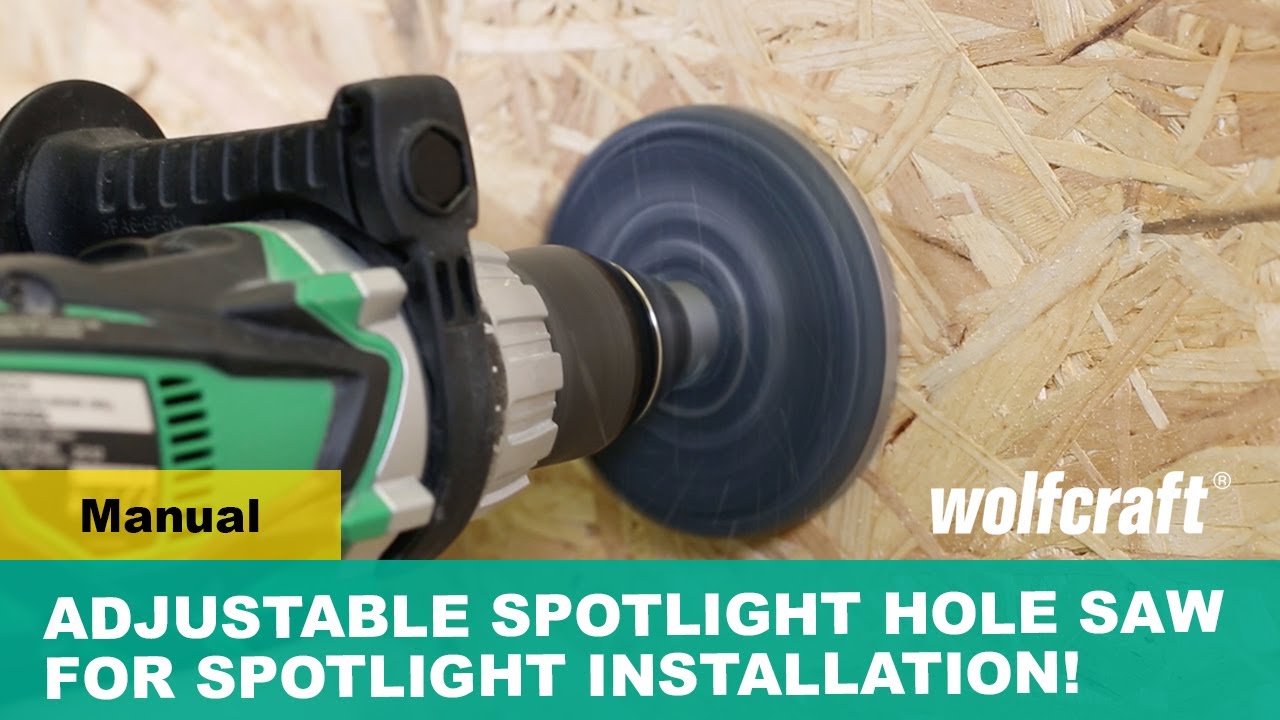
The ideal solution for all customary spotlight diameters (Ø) is the adjustable hole saw for spotlights. It has been specially designed for use in wood and drywall boards (e.g. gypsum plasterboard and OSB panels) and can be adjusted to the customary spotlight diameters (35, 55, 60, 68, 70, 75, 80 and 85 mm ) within seconds.
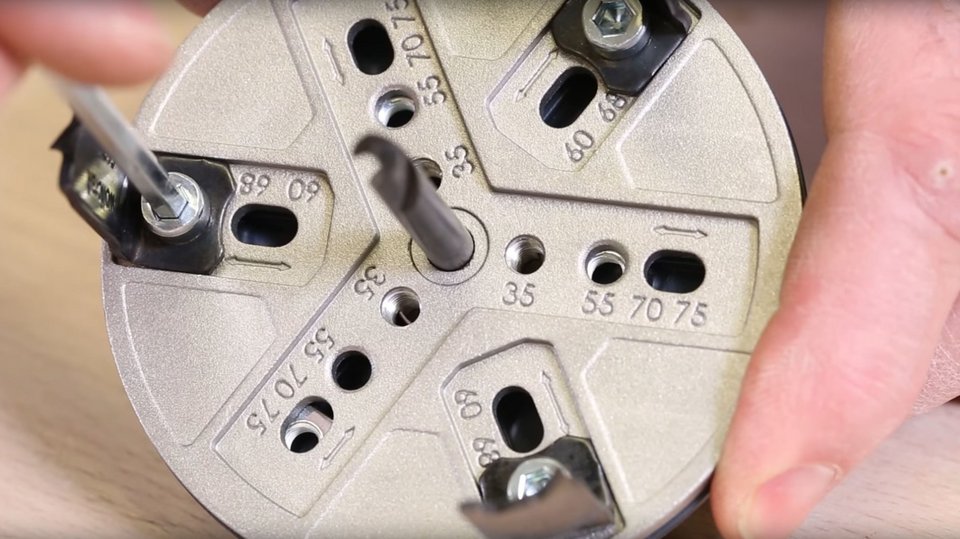
To do, use the included hexagon socket wrench to unfasten the screws of the three groups of teeth, adjust them to match the required hole diameter and subsequently fasten the screws again.
The cutting depth of the adjustable hole saw for spotlights is 30 mm, so you can also use it to drill through double-boarded plasterboard walls.
Step 3: Marking the grid and positions on the ceiling
If you want to install more than one ceiling spotlight, draw a grid with the desired distances of the light sources on the ceiling. The universal angle & try square is a great help for this task.
Step 4: Cutting the hole
Make sure that the power to your work area has been switched off and that there are no power supply cables in the work area.
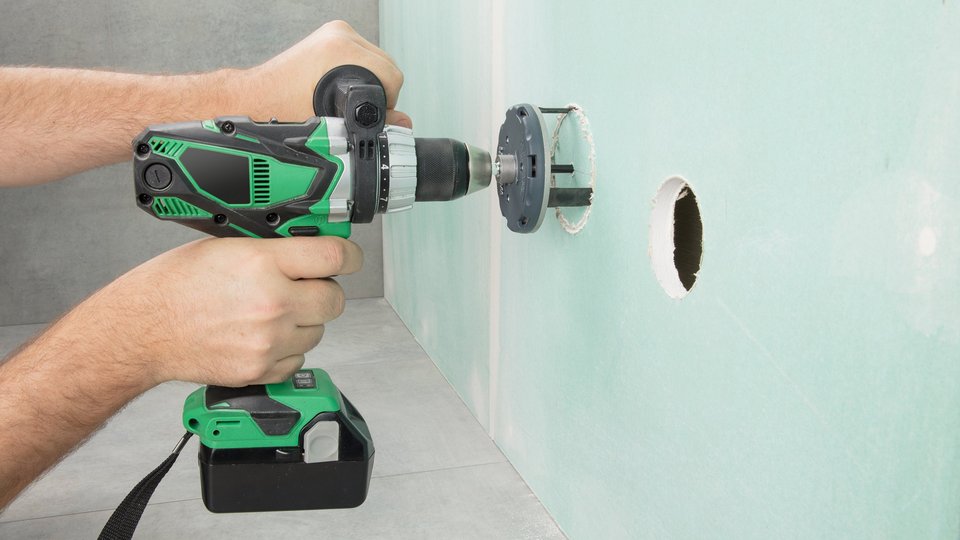
Insert the hole saw in the chuck of your power drill or cordless screwdriver. The triangular shank makes it compatible with all commercially available power drills and cordless screwdrivers.
Now position the centring drill bit of the hole saw on the your marking and start drilling the hole. Once you have drilled through the board, you can remove the hole saw, together with the drill core.
Step 5: Inserting and wiring ceiling spotlights
After you have drilled all holes for your ceiling spotlights at the desired positions, you can insert the ceiling spotlights. Subsequently wire and connect them as described in the manufacturer's instructions.
Other Hole Saws
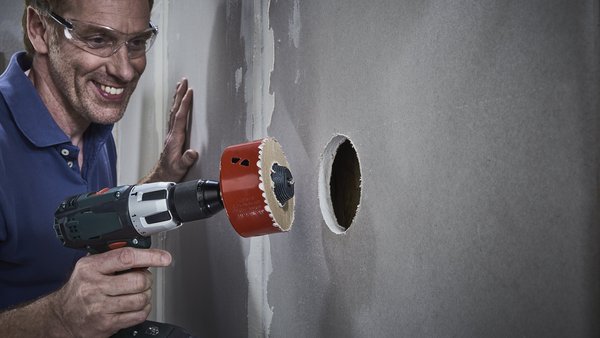
In addition to the adjustable hole saw for spotlights, we also have other hole saws for interior work in our product range!


Other Interesting Projects
Enlarging Milled Holes for Recessed Lights
Do you want to replace old recessed lights with new LED lights and now need holes with a bigger diameter? The hole enlarging tool solves this problem!


