Installing Window Sills

Indoors, window sills are frequently made of natural stone, such as marble and granite, or wood as a more economical option. Outdoors, weather-resistant window sills made of natural stone, aluminium and stainless steel are used. Here, particular care has to be taken to ensure that the waterproofing and insulation are accurately installed and durable.
What Materials and Tools Do You Need?
Tool List
- Powerful caulking gun: MG 600 or MG 550
- Cartridge knife
- Joint smoother
- Spirit level
- Folding rule
- Pimp My Rule internal measurement adapter
- Brick trowel
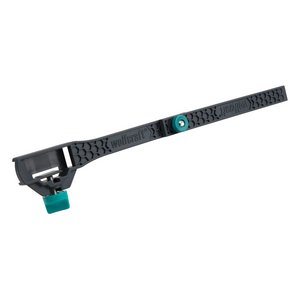
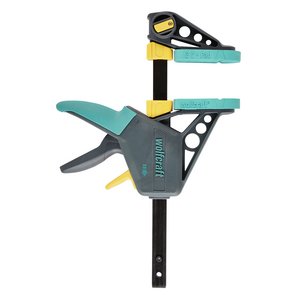
- One-Hand Clamp PRO
Material list
- Window sill of the right size
- Protective profiles and plaster connections for outdoor use
- Construction adhesive, 310 ml cartridge, or assembly foam for outdoor use
- Cement or repair mortar
- Silicone, 310 ml cartridge
- Cleaning cloths
Correctly Measuring Window Recesses
Step 1: Determining the inner clearance of the window recess
Step 1: Determining the inner clearance of the window recess
In the first step, use a folding rule to measure the clearance inside the window recess to determine the right length for your window sill. Here you can use the internal measurement adapter to help you. Subtract 5 mm from this length to have enough space to insert the window sill. If you want to embed the window sill in the wall to the sides, you have to add this dimension as overhang for both the left side and right side.
Step 2: Determining the depth of the window sill
Step 2: Determining the depth of the window sill
You can determine the depth of the window sill by measuring from the front of the wall to the frame of your window. Since the window sill has to vanish below the profile of your window once installed, you have to add 1-2 cm to your measurement.
Step 3: Determining the overhang
Step 3: Determining the overhang
If you want overhang, add approx. 3-4 cm.
Correctly installing window sills
Step 1: Preparation
Step 1: Preparation
Before mounting your window sill, smooth over any unevenness with cement mortar, so that you have a level, horizontal surface to which the construction adhesive can stick optimally. Check your result with a spirit level. After the mortar has dried, remove dirt and dust thoroughly.
Step 2: Applying construction adhesive
Step 2: Applying construction adhesive
Load a 310 ml cartridge of construction adhesive into the caulking gun (MG 600 or MG 550) and cut open the tip with a cartridge knife. With the practical tool, you can directly cut the tip at the appropriate angle, which makes it easy to apply the adhesive with high precision. Now press out construction adhesive onto the surface, in even lines approx. 1 cm wide.
Step 3: Installing the window sill
Step 3: Installing the window sill
Take the window sill and, as the first step, push it in underneath the window frame. Once it is in the desired position, put it down and slightly press down on it. If you want to make any changes to the position, you have to proceed quickly, because the adhesive dries fast.
Step 4: Creating elastic expansion joints
Step 4: Creating elastic expansion joints
Once the drying period specified by the manufacturer has passed, you can fill the joints between the window sill, frame and masonry with silicone or acrylic. Here you need a caulking gun again. Insert the cartridge and inject the sealant into the joint, taking care to work with control and precision. Use a joint smoother to smooth over the surface.
Product Recommendations for the Project


Other Projects

Applying Silicone Joints
With the joint repair kit, unsightly silicone joints can be removed and renewed with ease.

Installing Drywalls
Installing drywalls with stud frames and gypsum plaster boards is a quick way to extend and convert the space inside your own four walls.

Installing Doors
Our tools make installation so easy that even inexperienced DIYers can approach this task with confidence.


